
Introduction
The previous example in the series involved requesting a single attribute, currentValue, from a parameter. This time, we will update an attribute.
Step 1, get Postman
We will assume that Postman has already been set up; please see the previous example if revision is required
Step 2, get an API key with modify permission
The API key which we used previously to request the currentValue attribute was a read-only key. As we now intend to update an attribute, we will instead need to create a key with modify permission:
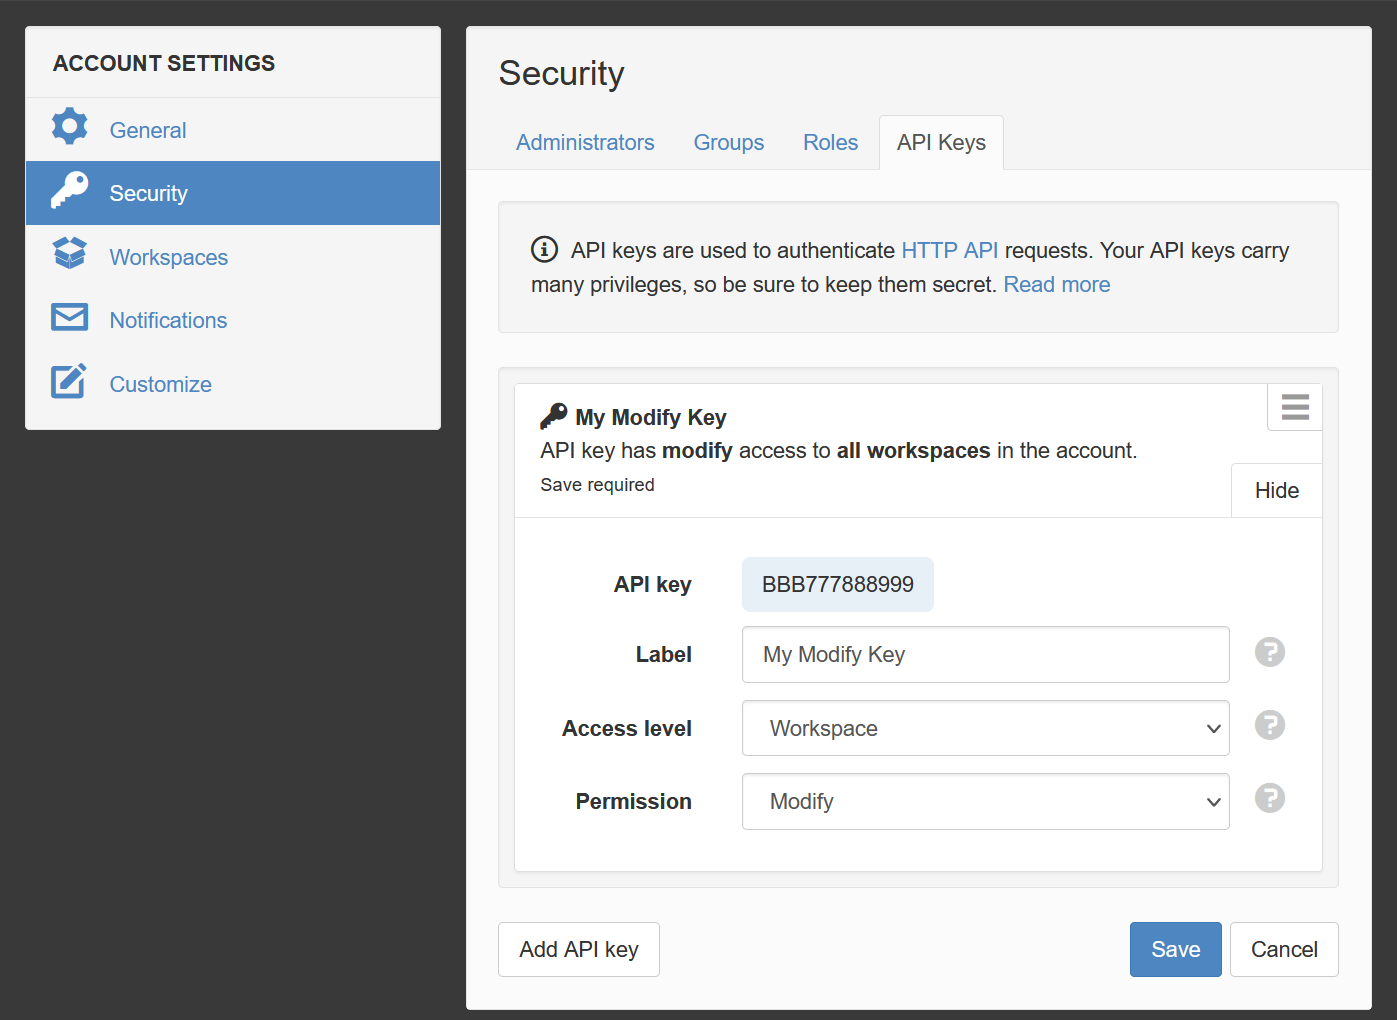
Our API key for the rest of this article will be BBB777888999, but as before, any API key that you generate in your own account will actually look a lot longer and more random than this.
Step 3: identify a node ID
This step is exactly the same as the previous example. We will use the same parameter as before, with a node ID of 613603901b5a610f7f5d8572.
Step 4: create the API request with Postman
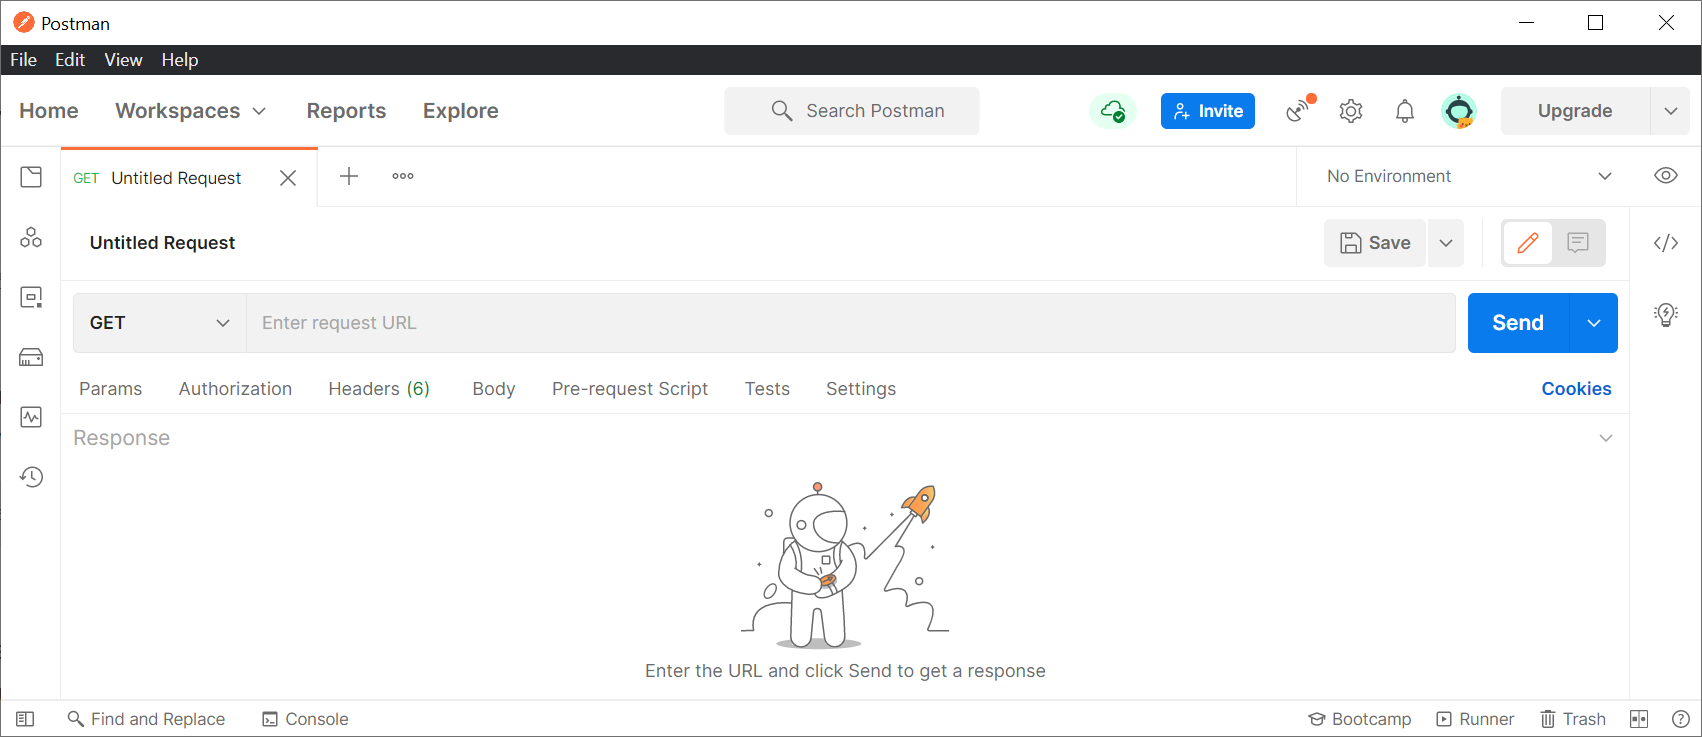
Create a new, untitled request:
In the field labeled Enter request URL, we need to enter the correct URL to access the parameter node. The API request we will use is titled Update a node in the documentation, and is described like this:
PUT /api/v1/nodes/:id
This is a shorthand way for the documentation to tell us it will be a PUT request, and how to construct the URL. Our untitled request in Postman is currently a GET request, so we need to change that to a PUT request:

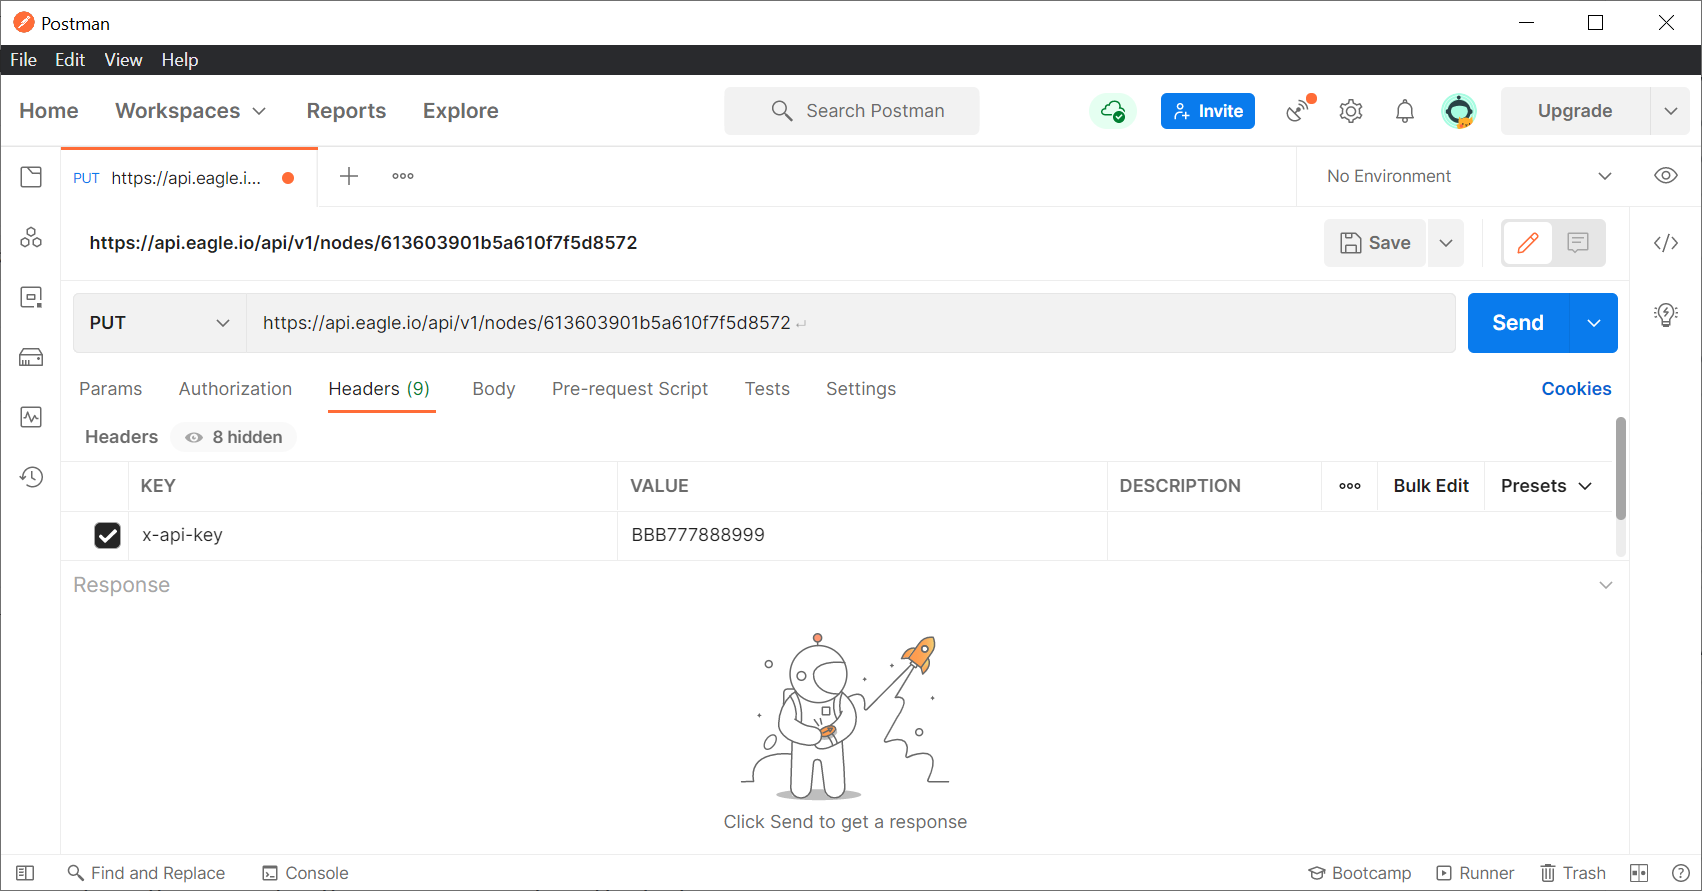
To construct the request URL, we always start with https://api.eagle.io/ and then add the specific request path from the documentation, which in this case is api/v1/nodes/:id However, the :id portion is shorthand for the real node ID of our parameter, so we need to substitute that. The full URL will therefore be:
https://api.eagle.io/api/v1/nodes/613603901b5a610f7f5d8572
We must also enter the API key. This is done by clicking Headers, then entering a key of x-api-key and a value that matches your API key; in this example, it is BBB777888999.
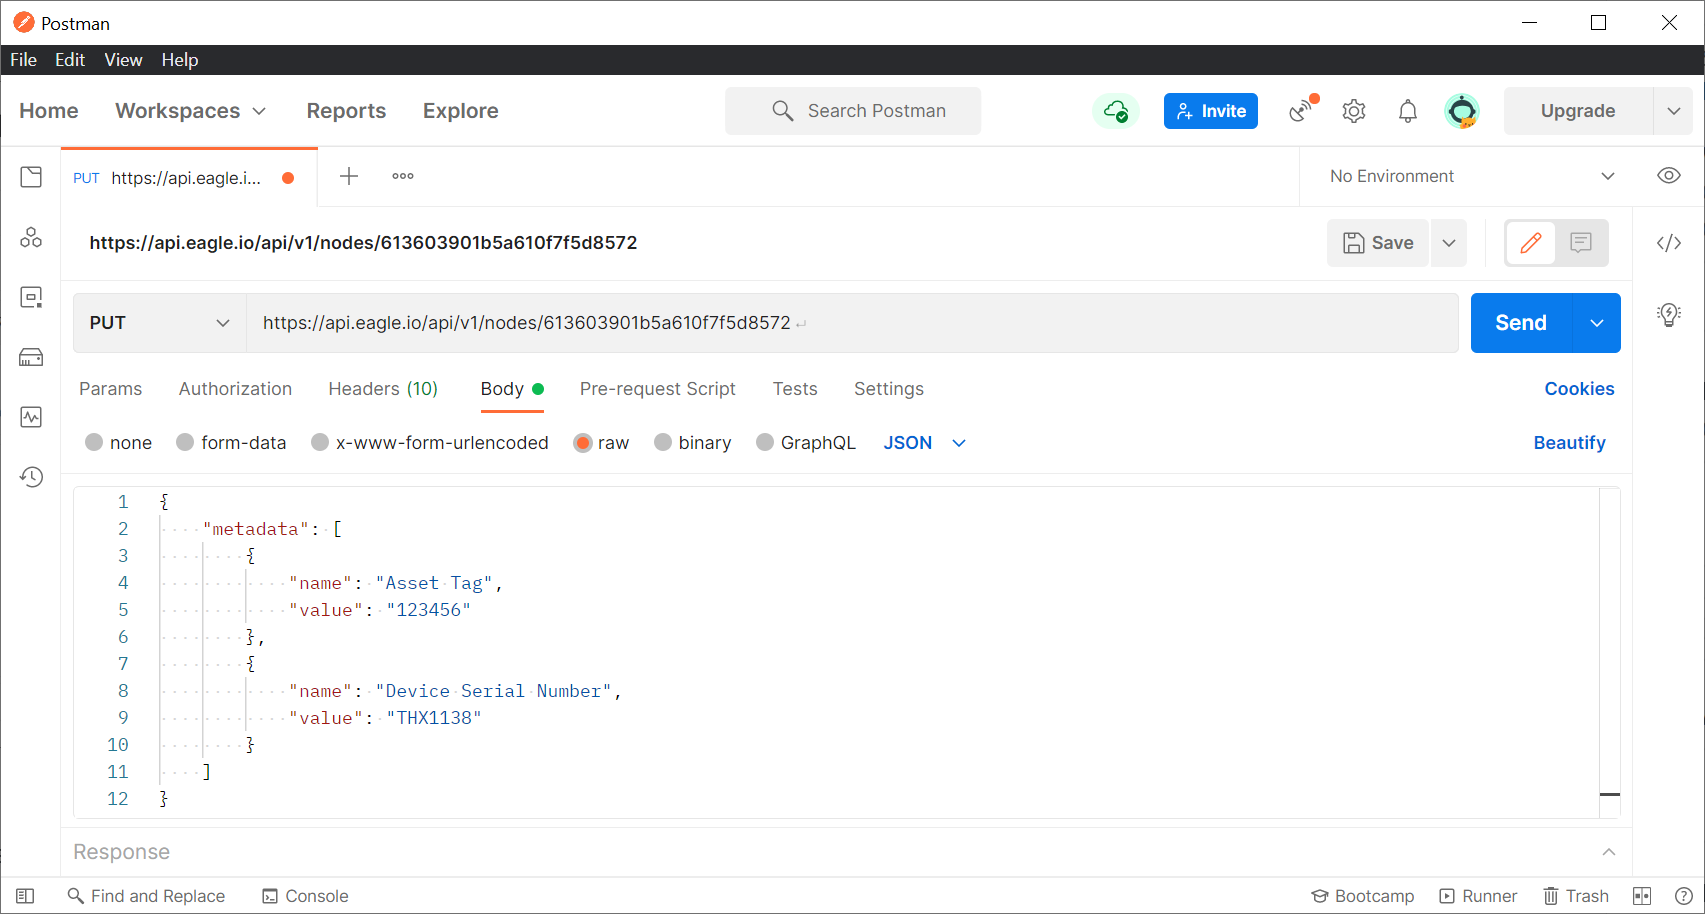
After entering the request URL and the API key, Postman should look like this:
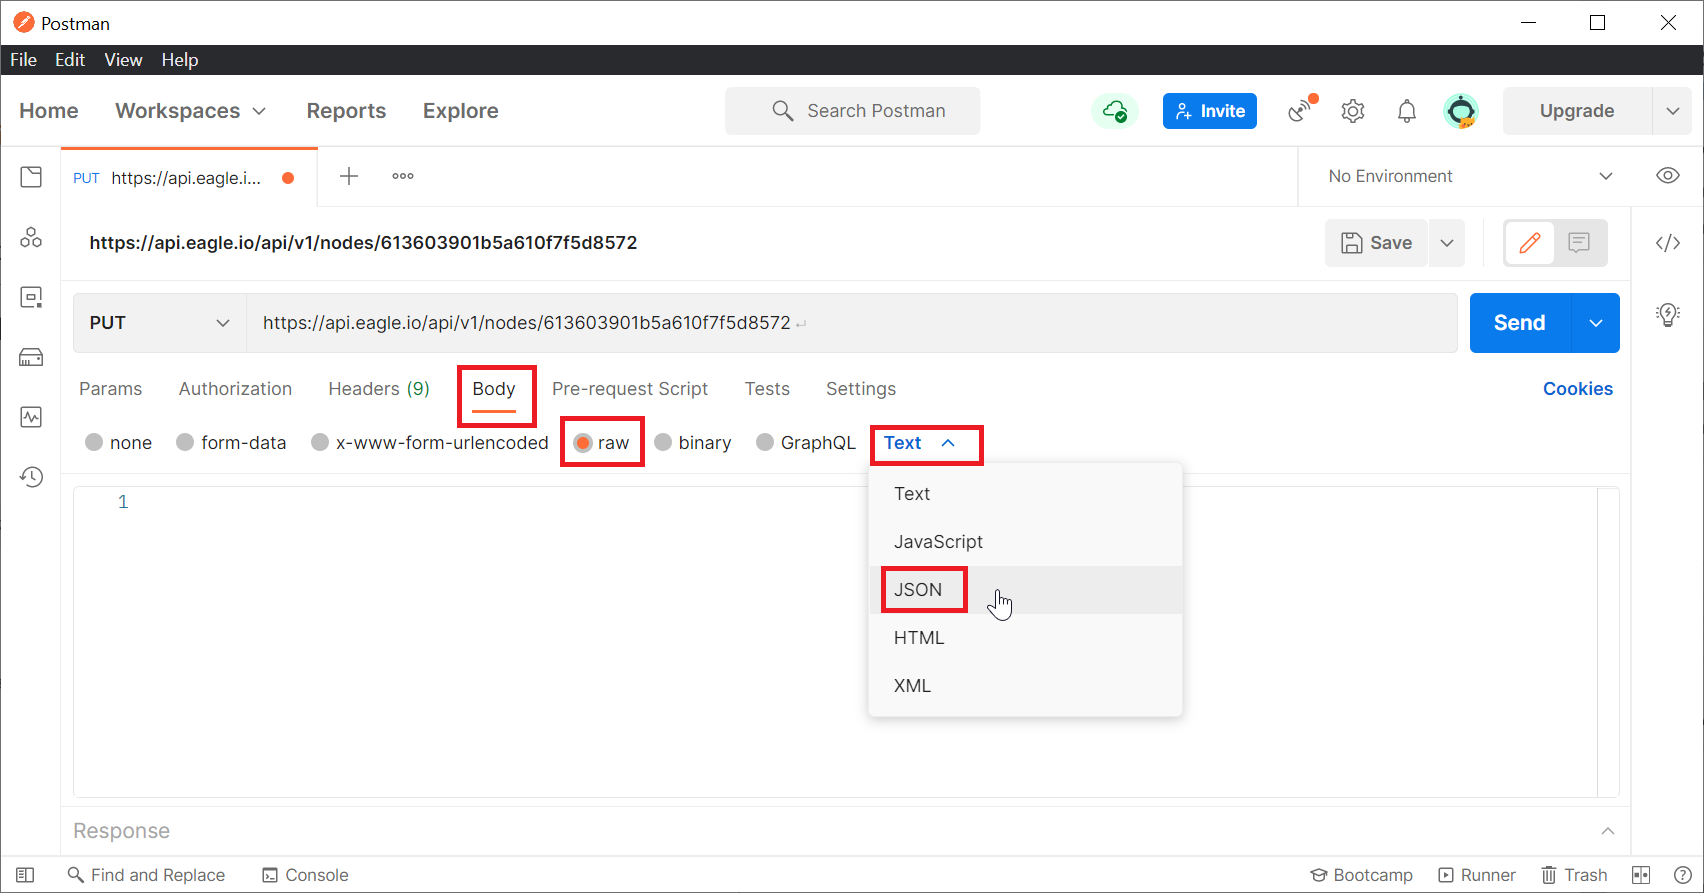
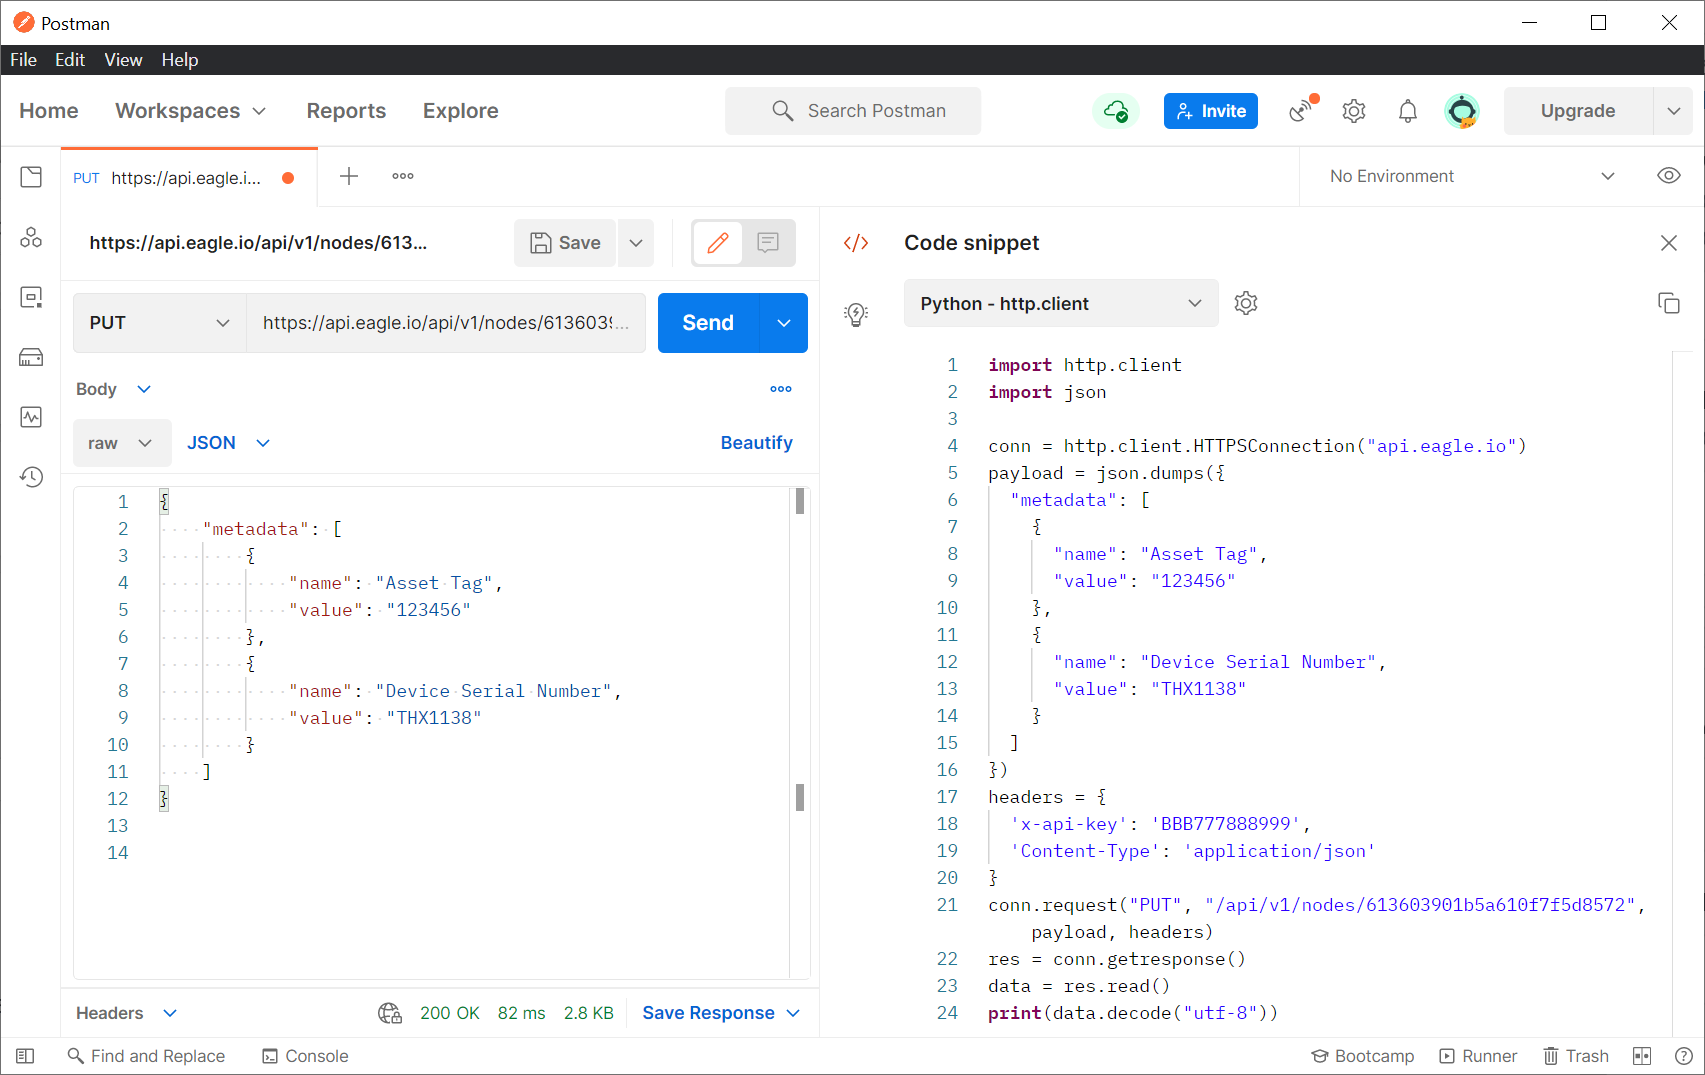
Since this is a PUT request, we also need to construct the body of the request. This represents the data that will be used to update the node. The body must comprise JSON, so click Body, then click raw, click Text, and choose JSON from the drop-down list:
In the request window, we can now enter the JSON data which contains the attribute update. As we want to update the metadata attribute, which the node attribute documentation describes as an "Array of metadata fields and values for a location", we will construct a JSON array with two items of metadata:
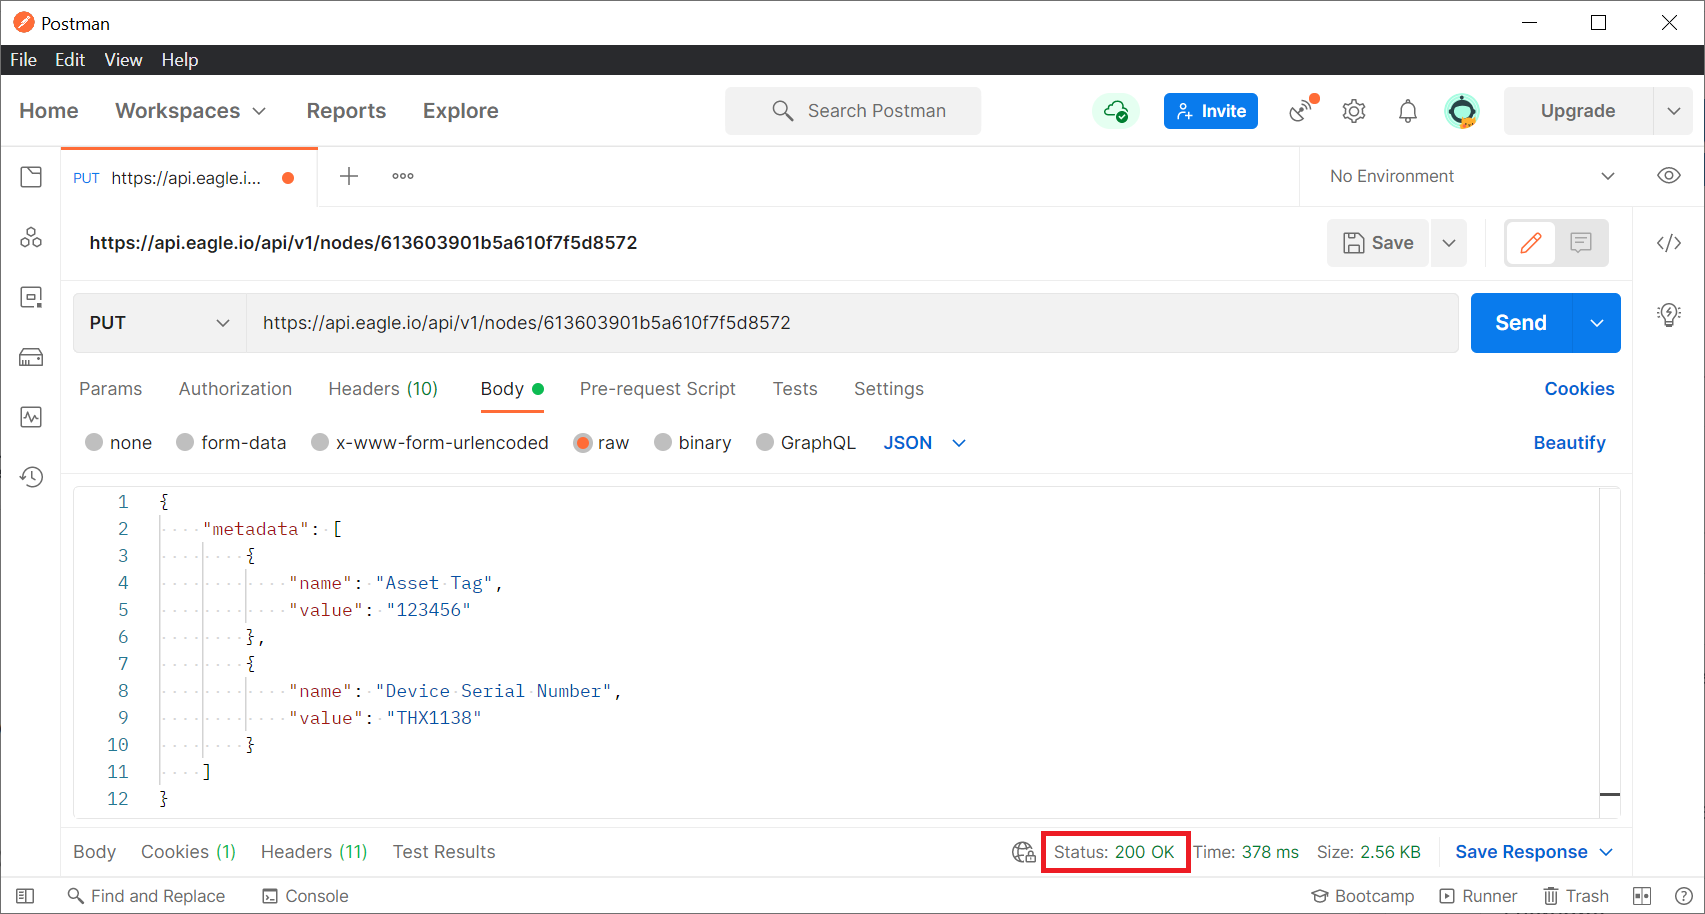
Step 5: send the request
Now that we have the URL, API key and request body in place, it's time to send the request by clicking the Send button. After sending the request, the first thing to check is the status of the response, which should be 200 OK:
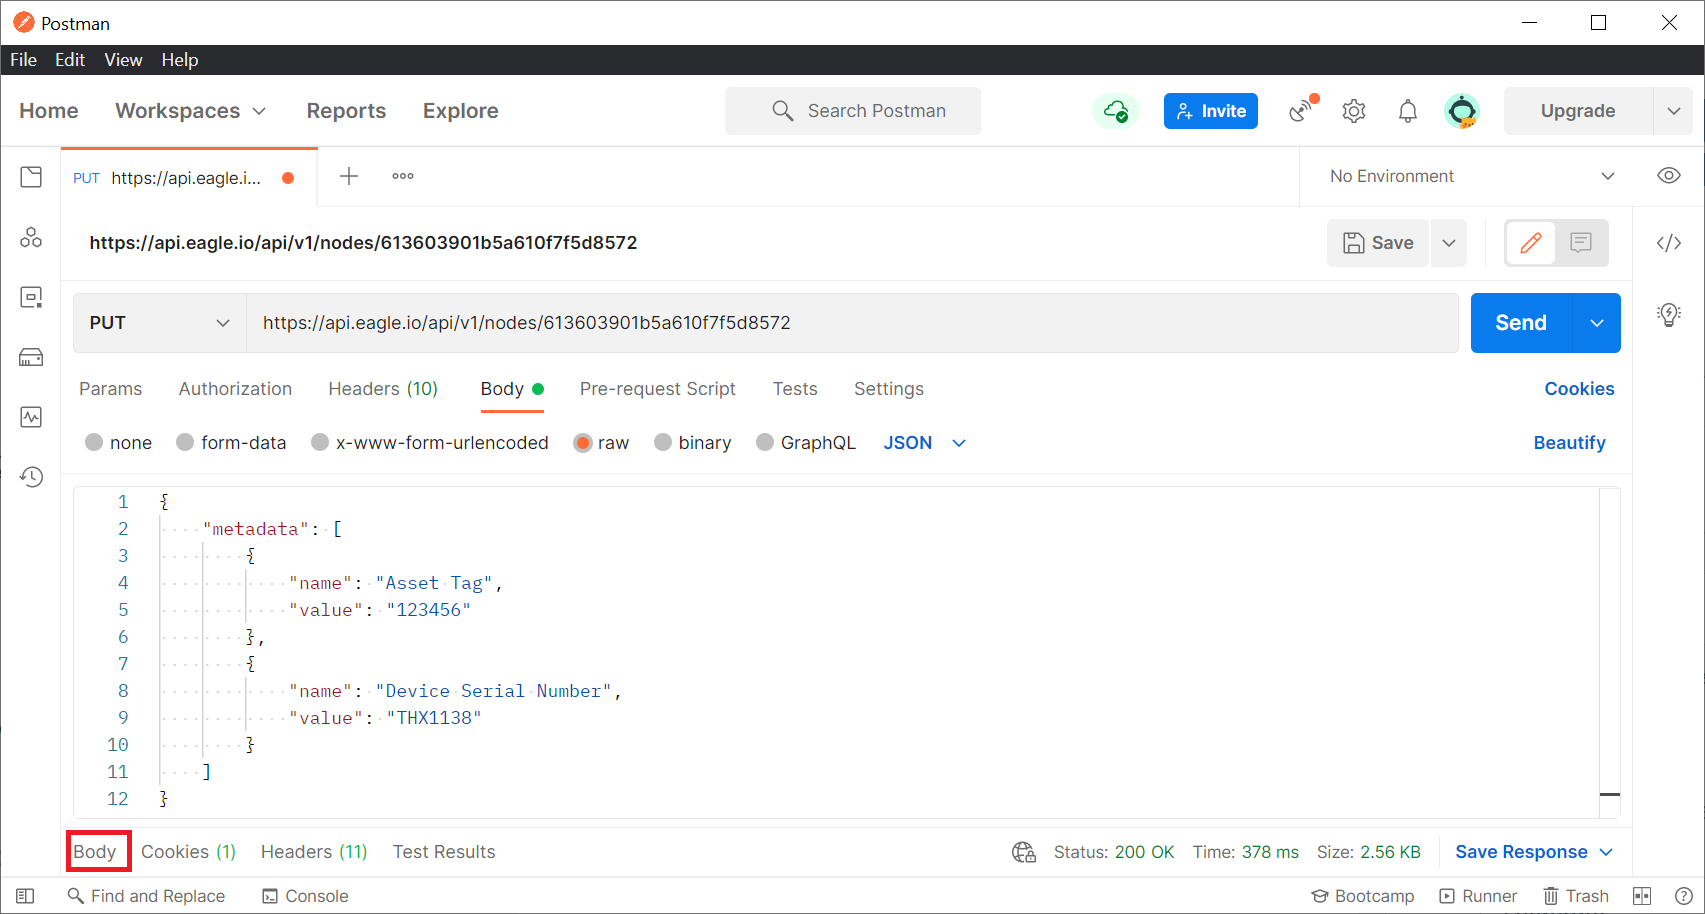
We can then click Body at the bottom of the Postman screen to display the response body (not to be confused with the request Body which we created):
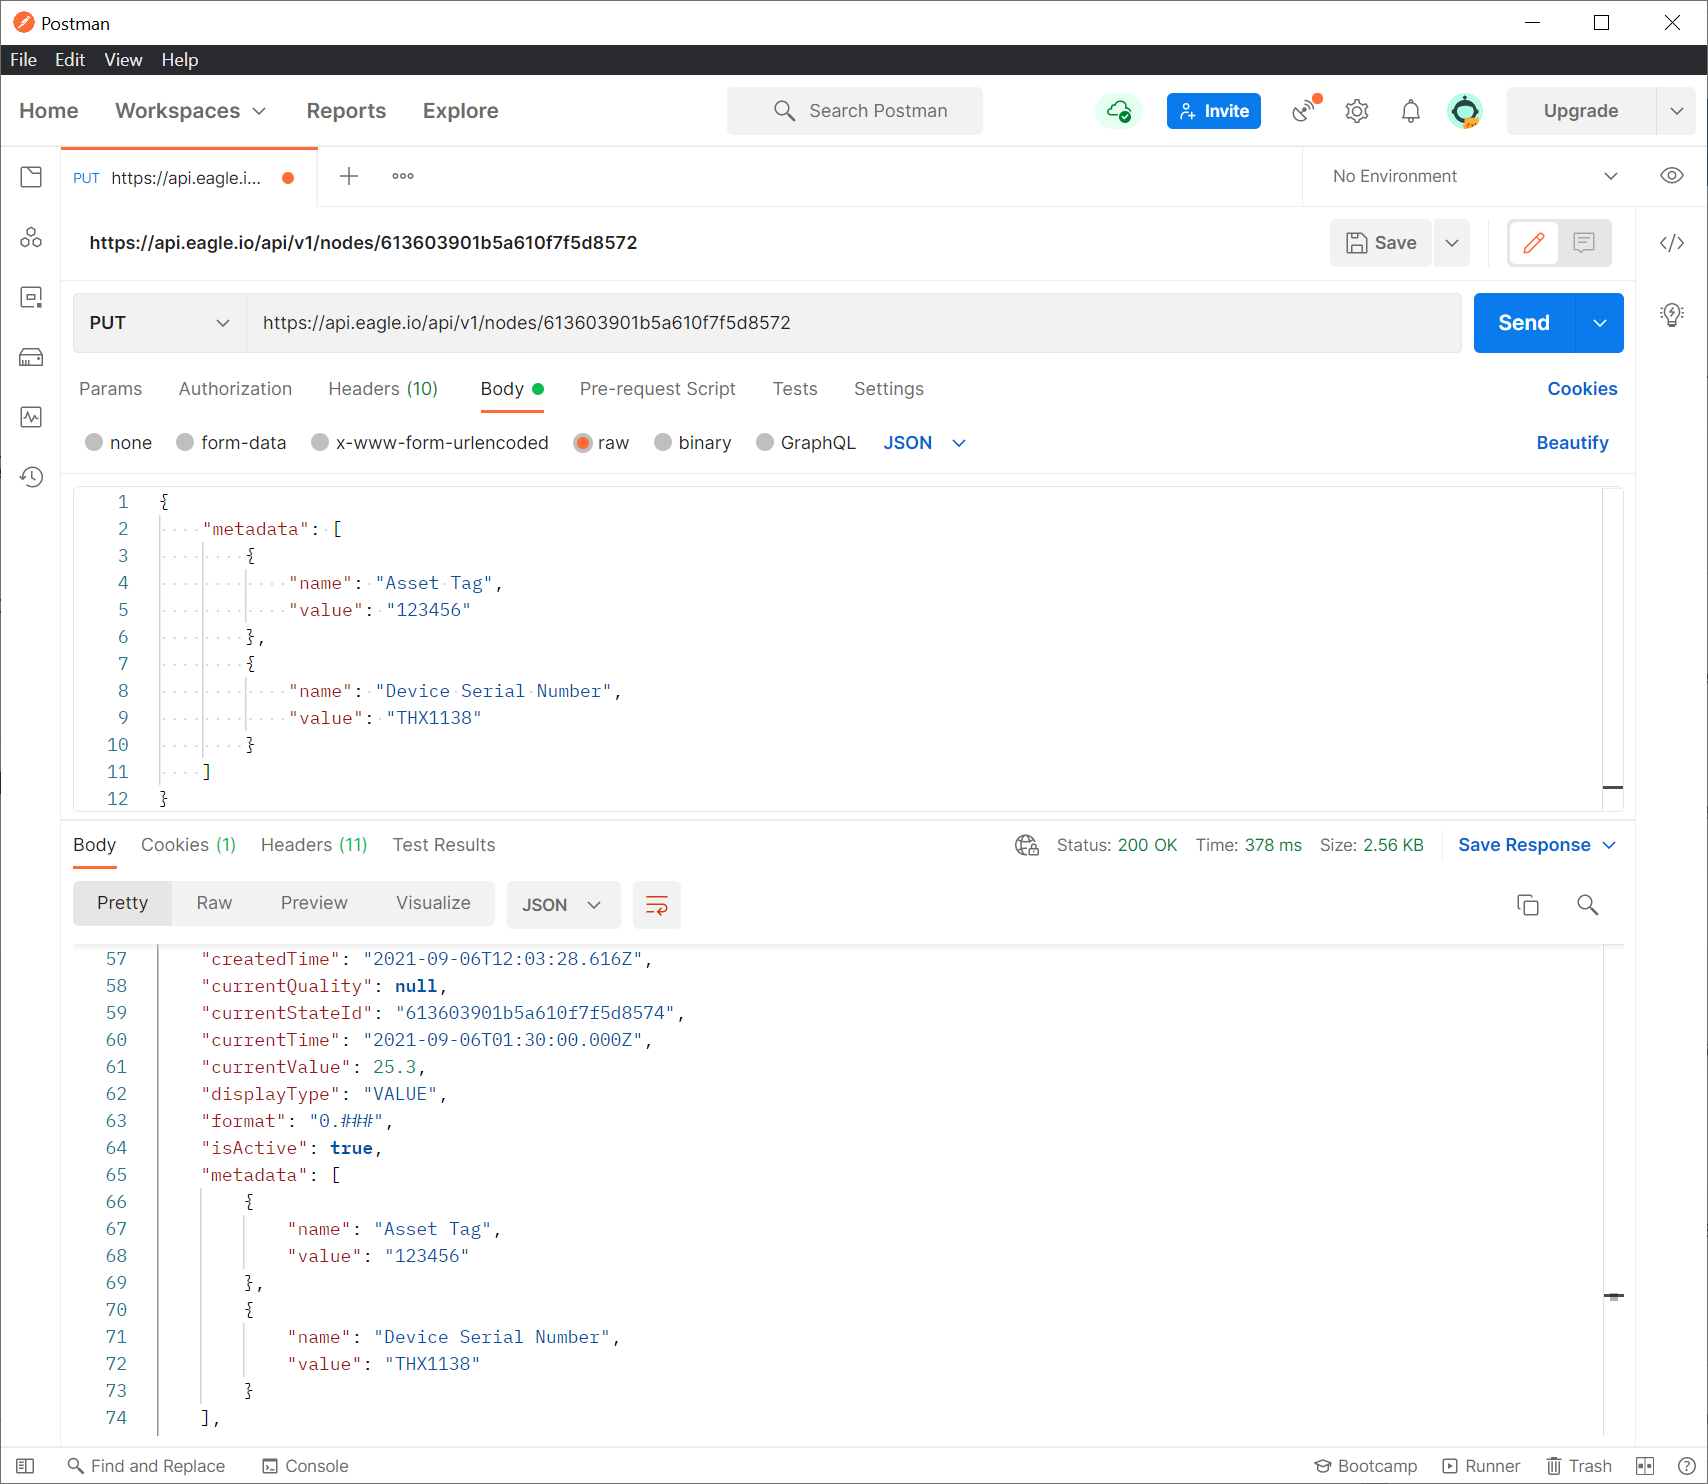
The response body should show the entire parameter node in JSON format, including the new metadata, but we may have to scroll down to find it. We can see that the metadata in the response body is the same as the metadata we created in the request body:
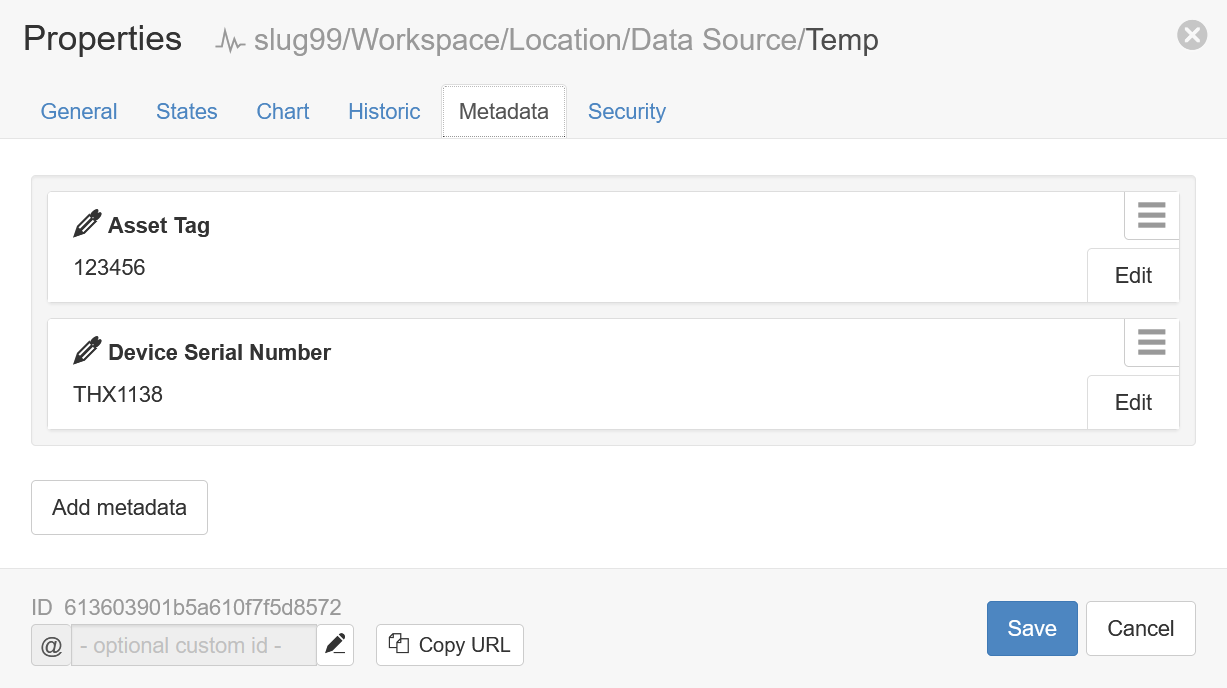
We can also visually confirm that the metadata was updated by looking at the parameter properties:
Step 6: convert this Postman example to code
As with the previous example, we can generate a code snipped by clicking the </> button:
Summary
When combined with the previous example in part 1, we have now demonstrated how to view and update node attributes. Take care when updating; you are making changes to the node which may be difficult to revert, so it's best to practice on test data and be sure of the outcome before doing this with important nodes.